

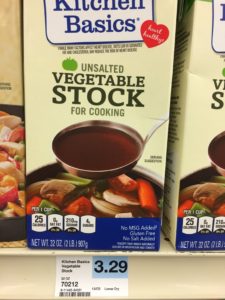
At $3.29 per 4-cup box, the savings gained with a homemade version is significant when you use 6, 8, 10 cups at a go several times a week.
By hijacking our veggie trimmings en route to the compost bin – collecting them in a gallon-size plastic bag in the freezer until it’s full – I can make my own veggie stock and have a plentiful, ready supply. This weekend’s simple stock-making effort yielded 29 cups of stock. Given that a 4-cup box of stock costs about $3.29 at the grocery, my 29 cups equals more than seven boxes, saving a full $23, and all the packaging. Well worth my time, maybe yours too.
Reading recipes for veggie stock can have you thinking you need specific ingredients in specific proportion, but it doesn’t need to be that complicated. At least, I don’t let it be and it works for me. If your cooking usually starts with onions and garlic, the proportions will naturally occur.
Start by collecting the clean (not moldy) trimmings from neutral, flavorful veggies that you’re already using to cook with. Veggies gone limp, but still intact, also work for me. Onion and garlic ends and their papery skins make up the bulk of my collected veggie trims, but I’ll also have carrot, celery, and tomato ends, bell pepper trims, along with broccoli and cauliflower bits and the ribs from sturdy greens (if I’m not eating them, which I do). For stock-making, I don’t include any bean or potato bits, though, as they make a gummy broth. Nor do I put herbs in the broth, as seasoning’s more specific to each dish.
Here’s how I make vegetable stock:
It’s a bit like making tea. Very simple. Five steps from collecting trims to finished stock.
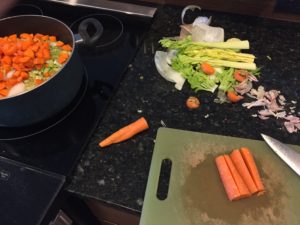
1. Set aside veggie trimmings while cooking. Here, I’ve got veggies for a lentil soup in the pot, and a mass of trimmings for stockmaking on the counter.
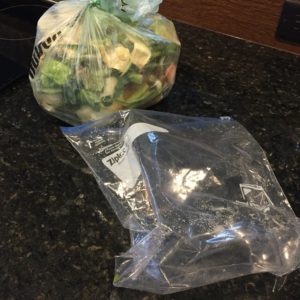
2. I put veggie trimmings in a gallon-size freezer bag, or sometimes a flimsy produce bag, and store in the freezer until the bag’s full.
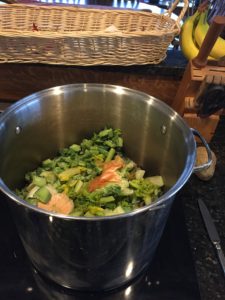
3. Empty the full gallon bag of trimmings into a large stockpot.
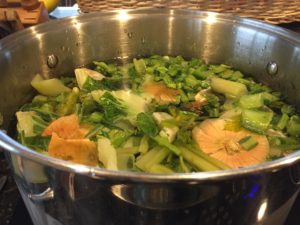
4. Over the trimmings pour lots of water, within 2 or 3 inches of the rim. I did 32 cups of water here. Bring to a boil, cover, simmer for one hour, then let the broth cool.
5. Pour the stock, through a strainer, into a big bowl or directly into containers, whatever’s easiest. I use a variety ot 12-, 6-, and 4-cup containers. Tuck them into the freezer. Done!
Note: Thawed stock keeps for a week or two in the fridge. If I’m cooking and need more stock than I have thawed, it doesn’t take long to loosen a cube of frozen stock from its container and melt it on the stove.
# # #